
If you’re facing moisture issues in your basement, DIY waterproofing with tar can be a practical solution. This method not only prevents leaks but also protects against mold and structural damage. You’ll need to prepare your walls properly and apply the tar effectively to guarantee a reliable barrier. Understanding the steps involved is essential, so let’s explore the materials and techniques you’ll need to achieve maximum protection for your home.
Key Takeaways
- Begin by cleaning basement walls thoroughly to ensure effective adhesion of the waterproofing material.
- Fill any visible cracks with caulk or hydraulic cement before applying tar for a seamless barrier.
- Use liquid asphalt or rubberized tar, applying it with a brush or roller from the bottom up for maximum coverage.
- Allow the first coat of tar to cure completely before applying a second layer for enhanced protection.
- Regularly inspect the waterproofed areas to maintain integrity and prevent future moisture issues.
Understanding the Importance of Basement Waterproofing
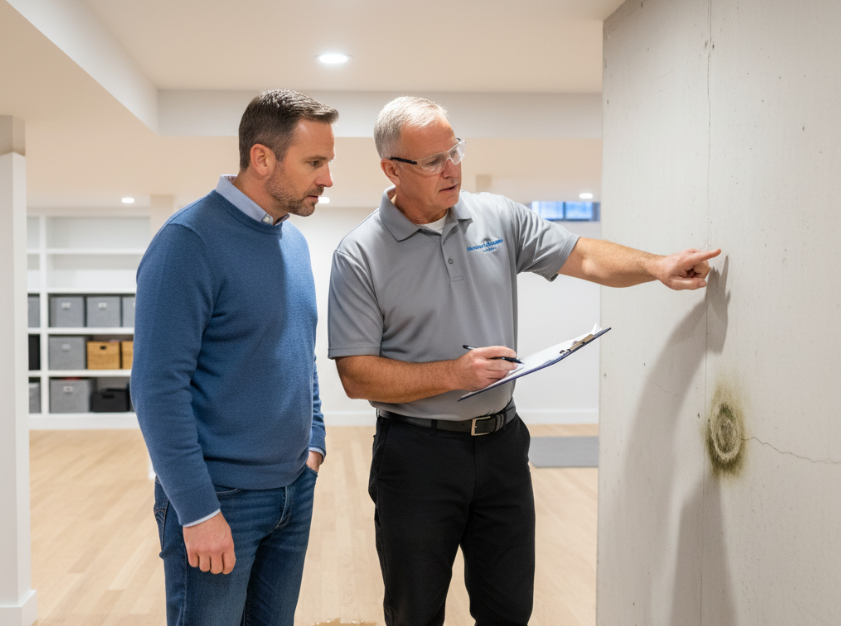
While you mightn’t think about it often, understanding the importance of basement waterproofing is essential for maintaining the integrity of your home.
Basement leaks can lead to significant structural damage, mold growth, and compromised air quality. By prioritizing moisture control, you prevent these issues before they start.
Proper waterproofing techniques not only protect your belongings but also enhance your home’s value. Regularly inspecting your basement for cracks and signs of dampness helps you identify potential problems early.
Investing in waterproofing solutions creates a dry, safe environment, ensuring your basement remains a functional space rather than a source of stress.
Materials and Tools Needed for the Project
To effectively waterproof your basement, you’ll need a variety of materials and tools to tackle the project efficiently.
First, choose the right tar types—liquid asphalt or rubberized tar are popular options. Gather a wire brush for surface preparation, a trowel for applying the tar, and a paint roller for even coverage.
Choose liquid asphalt or rubberized tar, and prepare your surface with a wire brush, trowel, and paint roller for a smooth application.
Don’t forget protective gear like gloves and goggles. Depending on your basement’s conditions, you might also need a waterproofing membrane or drainage system materials.
Familiarize yourself with application techniques to guarantee a smooth and effective process. Having everything ready will make your waterproofing project much easier and more successful.
Step-by-Step Guide to Applying Tar for Waterproofing
Applying tar for waterproofing your basement involves several clear steps that guarantee effective and lasting results.
First, verify proper surface preparation by cleaning the walls thoroughly, removing dirt and debris.
Next, fill any cracks with caulk or hydraulic cement.
Once dry, use a brush or roller for application techniques, applying a thick layer of tar evenly across the surface.
Work from the bottom up, overlapping sections to achieve full coverage.
Allow the first coat to cure before adding a second layer for maximum protection.
Finally, inspect your work to confirm there are no missed spots, verifying a watertight seal.
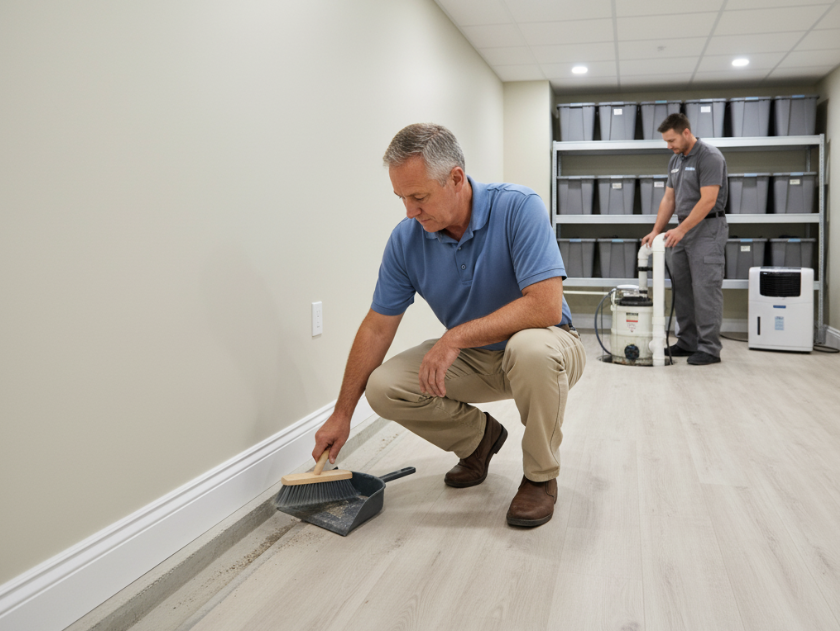
Tips for Ensuring Effective Waterproofing
After successfully applying tar for waterproofing, you’ll want to secure the effectiveness of your efforts.
After applying tar for waterproofing, ensure your efforts remain effective with regular maintenance and monitoring.
Follow these tips to enhance moisture control and support your drainage systems:
- Inspect the exterior foundation for cracks or gaps regularly.
- Confirm gutters are clean and direct water away from your home.
- Install a sump pump if your basement is prone to flooding.
- Monitor humidity levels inside the basement to prevent mold growth.
Maintaining Your Waterproofed Basement for Longevity
While you’ve taken the essential steps to waterproof your basement, ongoing maintenance is crucial for guaranteeing its long-term effectiveness.
Regularly check for cracks or damage, as these can compromise your efforts. Keep an eye on basement humidity; ideally, it should stay below 60%. Utilize dehumidifiers to help with moisture control, especially during humid months.
Verify gutters and downspouts direct water away from your home’s foundation. Additionally, inspect window wells and drainage systems for blockages.
Conclusion
In summary, by taking the time to waterproof your basement with tar, you’re not just shielding your home from moisture; you’re fortifying it against the elements, much like a knight donning armor before battle. This DIY method not only protects your investment but also guarantees a healthy living environment. Remember, regular maintenance is key to keeping your fortress strong. So, roll up your sleeves, follow the steps, and enjoy the peace of mind that comes with a dry, safe basement.